Anyone
who has a treadmill will have to repair or fix it sooner or later.
You may be having trouble with the wear-resistant platform, but it's
nothing serious. You can easily learn how to adjust a treadmill by
yourself.
Fixing
a treadmill, most common things to do:
Check
the power supply. Make sure your
treadmill is getting proper power supply. Problems with the other
home appliances, the sockets, or the use of extension or adapters may
diminish the effectiveness of your treadmill, or even damage the
electronic control card.
For
safety reasons, be sure to turn off power before performing the
following steps.
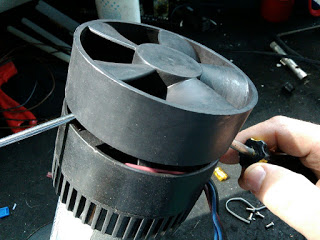
Clean
the treadmill. Make sure that there is
no dirt or any other accumulation on the treadmill belt, in the motor
housing, or the bottom of the rollers. Dirt can cause friction of the
belt and will slow down or cause problems during walking and running
on the treadmill. When the treadmill is clean, you can turn on the
power and check whether the dirt removal has resolved the problem. Do
not forget to clean the deck and the belt with alcohol, removing all
dirt and lubricant residues and using the new 100% silicone lubricant
on the table.
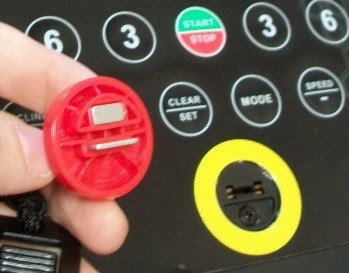
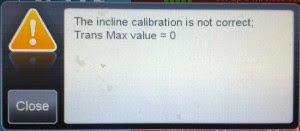
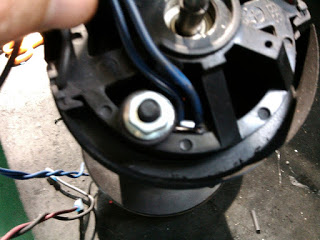
Examine
the speed sensor. Check the speed
sensor, you can accumulate dust that annoys speed reading, causing
various faults during use. Anything that may have accumulated on or
around the speed sensor must be removed. A tapering motion or the
appearance of an error (E1, E2) a few seconds after the belt is
started may be attributed to the sensor covered by dirty, or
defective.
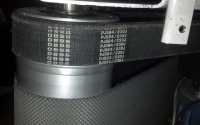
Replace
the belt. Follow the manufacturer's
instructions or those on our blog to remove the motor cover. Loosen
the back of the belt with the screwdriver or the keys. Mark the
position of the front roller so that the new belt can easily be
re-aligned. Pull the belt from the treadmill deck, then put the new
belt on the treadmill. Make sure you buy a suitable belt for the
treadmill and ensure its good quality. Do not strain too much. Follow
the directions of the manufacturer’s booklet or those on our blog.
If
you smell burning, clean everything, adjust the belt (reducing the
tension as low as possible) and lubricate the deck. If, after doing
so, there is still a burning odor, unplug the treadmill and stop
using it until the problem is solved. The motor is overheating,
causing the burning smell. It may be that the belt is misaligned or
replaced or the deck is chipped. Do not continue training with the
risk of causing expensive damage to the motor and / or the treadmill
control board.
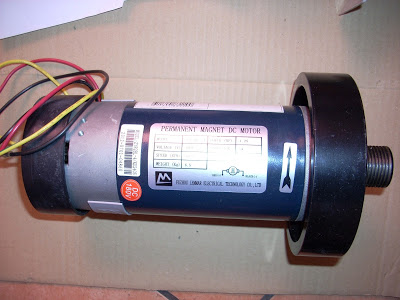
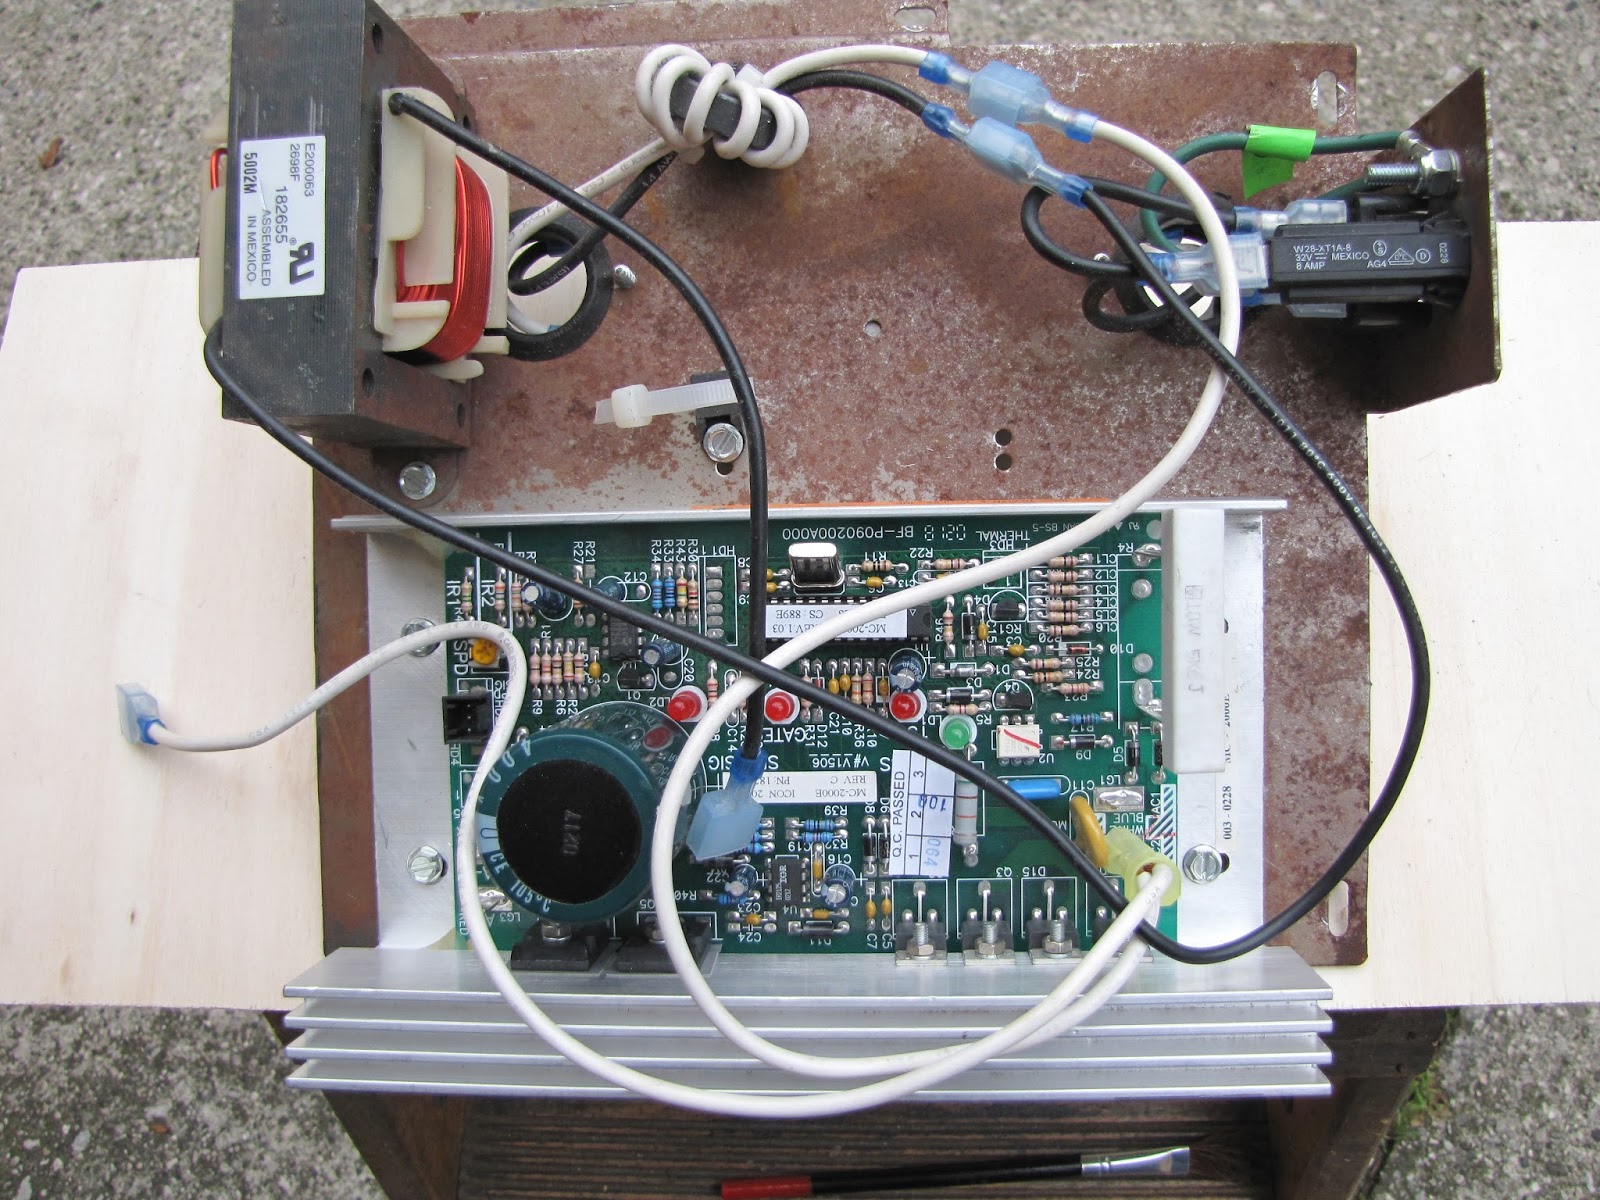
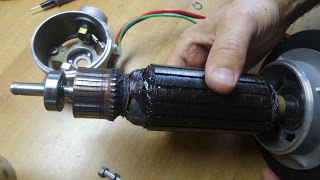
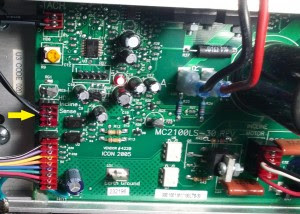
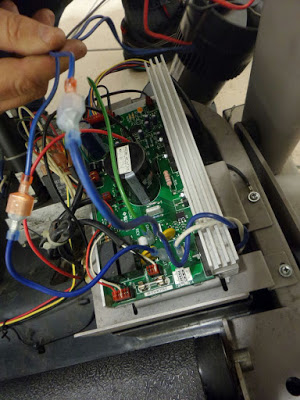
Replace
the motor / board. After identifying
the failures, this could be the only solution. Follow the
step-by-step manual or the directions on our blog. Put all the small
parts of your treadmill in a container, so you cannot lose them and
you can reassemble all the pieces more easily. This may not be within
the reach of everyone. If you are in doubt, contact a qualified
technician and never carry out operations without taking appropriate
electrical precautions.
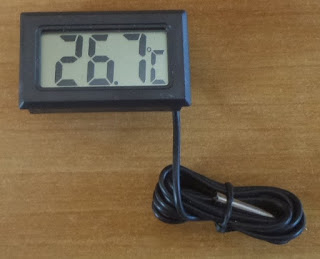
After
any intervention you should thoroughly test the smooth operation of
the treadmill, first without anyone, up to max. speed, then with a
test session. During testing, constantly monitor motor and board
temperature, if it rises, it may indicate some mounting error or need
of further service.
Never use the treadmill with children, people with
disabilities or the elderly as long as you are not sure of the
perfect working order of the machine. http://www.partsfortreadmill.com/